


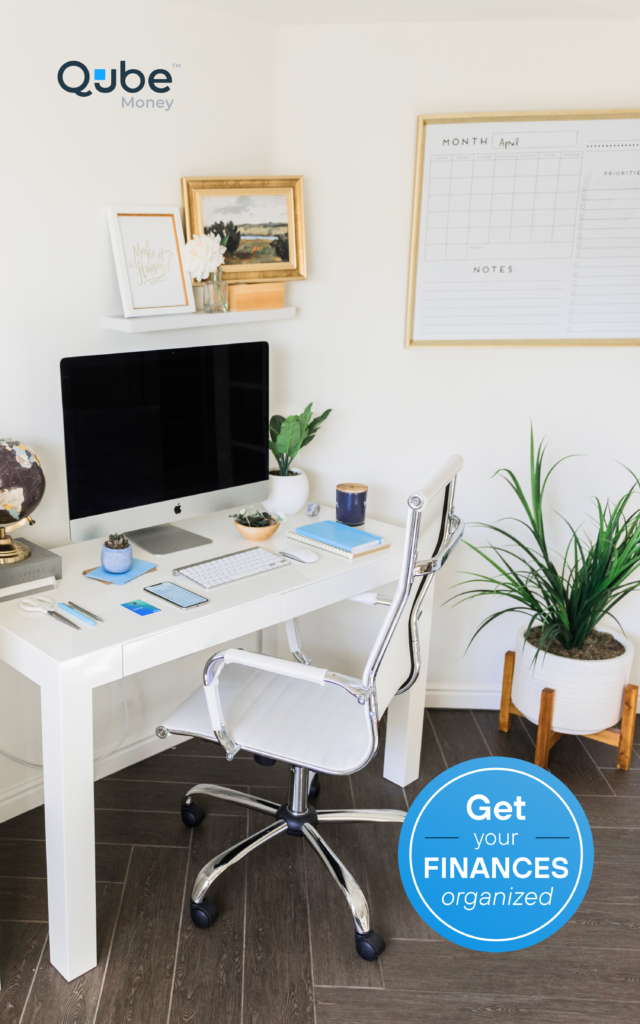
Springtime is here, and with it, I always start to feel the itch to get things organized. Not just “deep clean my house” organized; more like “color coordination like an episode of The Home Edit” organized. You know: right on the edge of crazy.
But the thought of organizing your life can be a little overwhelming, especially when it comes time to to organize your finances. Today, I’m sharing four easy steps that you can take today to whip those puppies into shape. You’ll be done in no time, and can go enjoy that fresh springtime air (or move on to color coordinating your pantry)!
Step 1: Gather up all your bills and important documents
Firstly, once you’ve decided to organize your finances, gather all your bills and important documents in one place. This will help you see what bills you have and what accounts need extra attention or have past due dates. Once you’ve collected all the documents you need, sort through everything and decide what needs to be shredded and what needs to be filed. It’s important to keep similar documents filed together and create a system that works for you.
If you don’t have room for a file cabinet or don’t want to create a system full of paper clutter, a more minimalist approach could be to use a digital filing system. To get started, check out this article all about how to Go Paperless with a Digital Filing System. When I was creating my digital filing system, I felt concerned about security. I don’t need someone rifling through my papers in real life, much less virtually! Worried about storing your financial documents on the cloud? Read more in this New York Times Article.
Step 2: Re-analyze your financial goals for the year and evaluate your budget
At this point, we’re ¼ of the way through the year and it’s a good time to evaluate any financial goals you made at the beginning of the year. Did you want to pay off some extra debt or save for a big vacation in the fall? It’s time to review your progress toward those goals and make any budgetary changes you need, to ensure that you have the funds to get there. If you haven’t already, this is a great time to sit down and make a budget! To get started, read our favorite budgeting tips below or read our previous article How to Create a Good Budget.
Step 3: Create a budget
We’ve come to the most important step in your master plan to organize your finances. Whatever timeline you use (monthly, weekly, or biweekly), create a budget and give purpose to every dollar. In other words, zero-based budgeting. Allocate your money to expenses, paying off debt, and savings, leaving your end balance at zero. Nerd Wallet goes into more detail about setting up a zero-based budget.
Historically, good old-fashioned cash envelope budgeting wins first prize when it comes to implementing a zero-based budget.
In this system, you create an envelope for each spending category (groceries, gas, etc.). In each envelope, you place the amount of cash you intend to spend in that category for your specified time period. And when your cash runs out in that category, no more spending from it.
Cash envelope budgeting is effective since you can see exactly what you’re working with when you open up that envelope. But, as you can imagine, carrying around a bunch of cash can be a real pain in the keister. Check out our article about the 10 Things that Budgeters Hate about Cash Envelope Budgeting. I couldn’t agree with number 9 more! Loose change jingling around the bottom of my purse drives me insane!
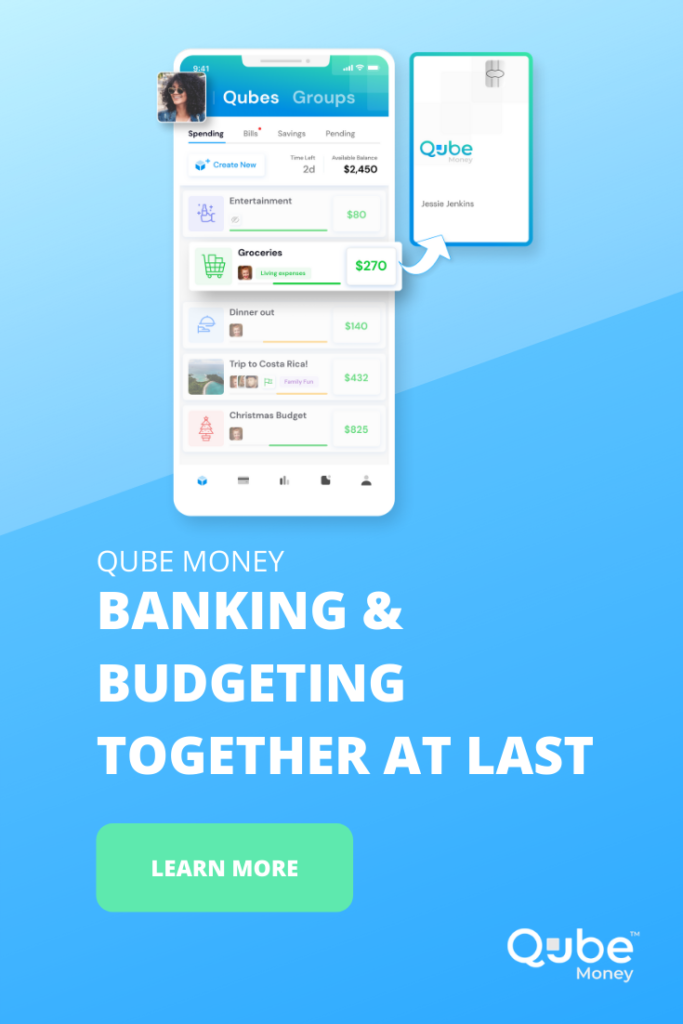
This is where Qube Money comes in.
Qube is as close as you can get to actual cash envelope budgeting without all the hassles of using cash. Each time you want to spend with your Qube Card you simply open up the app, tap the qube you want to spend from and it opens, just like opening up that cash envelope in your wallet. You check the actual amount of money you can spend before you spend it, and once you swipe that card, your qube updates automatically and you can see its remaining balance. It’s the magic of cash envelopes, digitized.
Step 4: Automate your payments
That’s how you spend using Qube. Your next step is to automate the process of organizing your finances. Imagine sitting down at the beginning of each month (or pay period), setting up your zero-based budget, and never having to think about it the rest of the month! If your bills were paid, savings were made, and expenses were accounted for automatically, would it save you mental (and maybe emotional) energy? Sounds pretty amazing, right?
When your money comes into your Qube account, it lands in your qube cloud and waits there until you assign it a purpose (a virtual envelope, or “qube”). You can set up your qubes quickly in the Qube Money planning screen. This screen is your ‘all in one place’ dashboard for creating your zero-based budget. This is the screen where you can assign $17 to your Netflix bill, $50 to your utilities, $100 towards groceries, and even $100 towards savings for Christmas. (Trust me, you’re going to want to start that one pretty soon. Christmas sneaks up on us, am I right?)
Once you have allocated the amount you want to place in each qube, then you can fill all your qubes with funds at the exact same time, automatically. Volia! You created your budget and you don’t have to think about bills or budgeting again for the time period you selected. The more consistently you set up your budget, the quicker you’ll be able to complete these steps. It’ll almost be second nature to know that you spend exactly $115 per pay period on fuel and car maintenance.
And there you go! You can check off the “organize your finances” task on your to-do list. Which item on your list are you going to move on to next?
Related: All about Home Budgeting and Financial Planning: Tips from the Experts


